
Wedding Projector Setup Guide for Receptions
Feb 15, 2026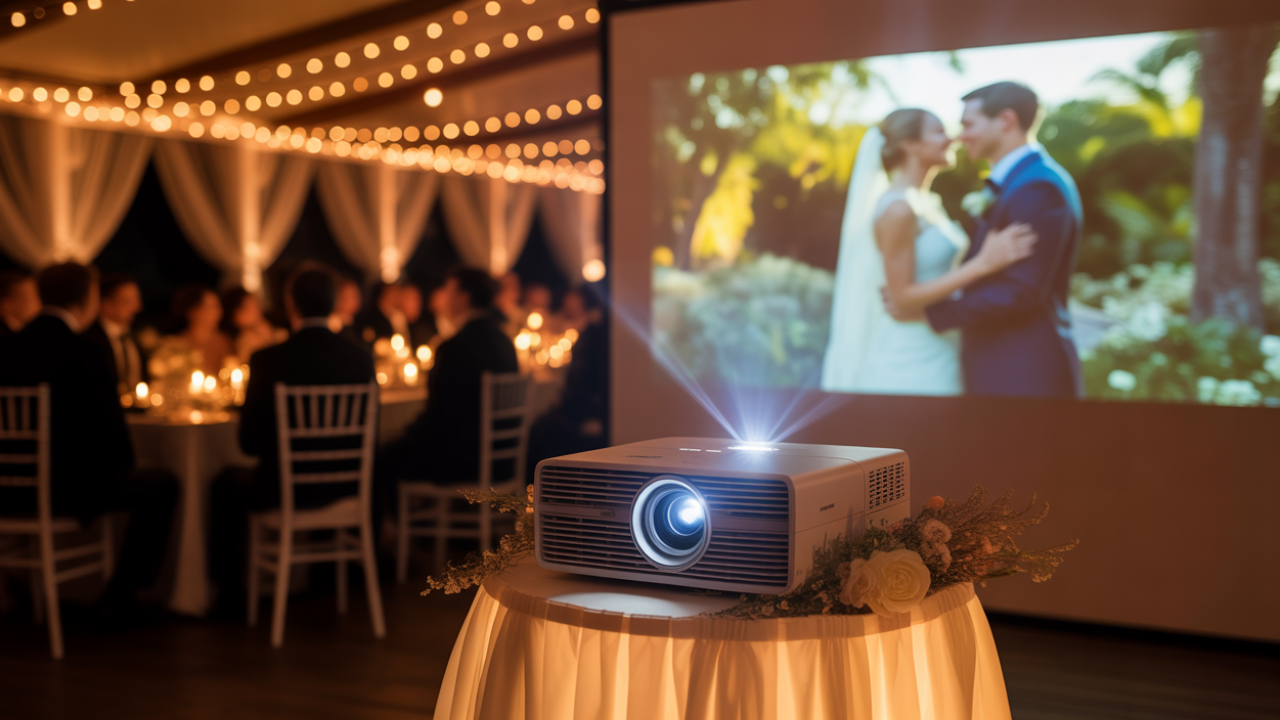
Disclosure: This post may contain affiliate links and advertisements. I may earn a commission at no additional cost to you. Content is supported with Ai and is for entertainment purposes only.
Not All Venues Have Media Support, So You Might Want to Create Your Own
Not every wedding venue comes with a built-in screen and projector. Some spaces are gorgeous but completely bare when it comes to tech. If you are dreaming about showing a sweet video during dinner or surprising your guests with childhood clips, you may need to create your own setup. I always think this is one of those details that feels small during planning and incredibly meaningful in the moment.
If you decide to bring in your own screen and projector for wedding clips, double and triple check everything. I truly mean that kindly. Technology can be magical when it works and stressful when it does not. A thoughtful plan keeps you from being caught off guard the day of your wedding.
A projector setup adds personality, storytelling, and warmth. It gives guests something to watch together. It gives you a moment to reflect. It can feel playful, emotional, or completely unexpected depending on what you show.
This guide walks you through how to set up a wedding projector and screen properly, how to test it, what to show, and how to make sure it blends beautifully into your decor instead of feeling like a conference meeting.
What You Could Show on Your Wedding Projector
Before you even think about cables and screens, decide what you want to display. This helps determine your equipment needs and timing.
Here are a few meaningful ideas.
- You could show a short “how we met” story with photos and gentle background music.
- You could create a slideshow of childhood pictures side by side.
- You could include engagement photos set to a favorite instrumental track.
- You could share short video messages from loved ones who cannot attend.
- You could play a looping reel of fun moments during cocktail hour.
- You could display thank-you messages at the end of the night.
- You could create a playful trivia slideshow for guests during dinner.
The tone can be sentimental, humorous, or artistic. I personally love when it feels genuine and not overly polished. Imperfect clips often feel the most heartfelt.
Keep it concise. Five to eight minutes is usually perfect. Longer videos can shift the energy too much.
The Ultimate DIY Guide: How to Set Up a Screen and Projector for Your Wedding
This is where preparation truly matters. A projector setup requires planning, testing, and backup options.
Step 1: Confirm Venue Rules and Power Access
Before purchasing or renting equipment, speak with your venue.
Ask:
Is outside equipment allowed?
Are there any noise restrictions?
Where are the nearest outlets?
Is there a power limit?
Some venues require taped-down cables or prohibit hanging items from walls. Knowing this early prevents stress.
Step 2: Choose the Right Projector for a Wedding Setting
Not all projectors are created equally. For a wedding environment, brightness matters most.
Look for:
At least 3,000 lumens for indoor evening events.
Higher lumens if the room has natural light.
HD resolution for photo clarity.
Multiple input ports such as HDMI.
If you are showing content before sunset, brightness becomes especially important.
Step 3: Select a Screen That Fits the Space
You have several screen options.
You can use a freestanding projector screen with a stand.
You can hang a tensioned fabric screen.
You can project onto a smooth white wall.
You can use a retractable screen mounted temporarily.
If you want it to feel decorative, frame the screen with draping or florals. A plain white screen can look stark without styling.
Measure the space carefully. A 100-inch screen works well for medium reception rooms.
Step 4: Determine Placement Thoughtfully
The placement affects visibility and safety.
Place the screen where:
Guests can see clearly without turning completely around in their seats.
The projector will not block walkways.
Cables can run safely along walls or under rugs.
Avoid placing the screen behind bright windows. Light washes out projections.
Step 5: Calculate Throw Distance
Throw distance refers to how far the projector needs to be from the screen.
Each projector has specific guidelines. Check the manual for recommended distances.
Measure:
Screen width.
Projector lens to screen distance.
Ceiling height if mounting overhead.
Testing this in advance avoids distorted images.
Step 6: Secure the Projector Safely
You have a few setup options.
Place the projector on a stable table with weighted base.
Use a tripod stand specifically designed for projectors.
Mount it overhead if the venue allows.
Make sure it is level. Even slight tilting affects image shape.
Step 7: Connect Your Media Device Properly
You can connect:
Laptop via HDMI.
USB drive directly into projector if supported.
Streaming device if internet is stable.
I recommend using a downloaded file instead of streaming. Wi-Fi can be unpredictable at events.
Label your cables and bring extras.
Step 8: Test Audio Thoroughly
If your video includes sound, connect to speakers.
Options include:
Portable speaker.
Venue sound system.
DJ mixer.
Check volume levels in a full room. Empty rooms sound different than filled ones.
Run a complete test with lights dimmed.
Step 9: Adjust Lighting
Lighting makes a significant difference.
Dim overhead lights near the screen.
Avoid spotlights hitting the screen.
Use soft side lighting for ambiance.
If you want the projector to blend into decor, surround it with candles or florals so it does not feel technical.
Step 10: Hide and Secure Cables
Safety matters deeply.
Tape down cords with gaffer tape.
Run cables along walls when possible.
Avoid crossing main walkways.
Neat cable management keeps everything looking polished.
Step 11: Assign a Tech Helper
Do not leave this responsibility to chance.
Assign:
A trusted friend.
Your planner.
Your DJ.
They should know how to press play, pause if needed, and adjust volume.
Give them clear instructions and access to backup files.
Step 12: Create a Backup Plan
Technology deserves a backup.
Bring:
Extra HDMI cable.
Extra extension cord.
Extra batteries if needed.
USB backup of video.
If something fails, you can pivot quickly.
Additional Options to Elevate Your Projector Display
You can enhance your projector moment creatively.
- You could project onto sheer fabric for a dreamy layered look.
- You could create a backyard cinema vibe with cozy seating.
- You could use a mini projector for a smaller side room.
- You could play silent looping visuals during cocktail hour.
- You could display a live photo feed from a shared digital album.
A projector can also double as entertainment later in the evening if you choose to show fun clips or dance visuals.
Things to Be Mindful Of Before the Big Day
Brightness during daylight hours can be challenging. If your reception space has large windows, consider waiting until evening.
Sound delay can happen if audio equipment is not synced properly. Test thoroughly.
Placement should not block photographers or videographers.
Screen size should match audience size. Too small feels hard to watch. Too large can dominate the room.
Weather matters if outdoors. Wind can shake screens. Moisture can damage equipment.
I always think it is worth rehearsing the entire sequence at least once in a similar lighting environment.
FAQ: Wedding Projector Setup Questions
How Early Should We Test the Projector?
Test at least one week before the wedding and again during venue setup.
Is Renting Better Than Buying?
If you will only use it once, renting can be more practical. If you plan future events, purchasing might make sense.
Can We Use a Simple White Sheet?
You can, but ensure it is smooth and tightly secured. Wrinkles distort images.
What Is the Ideal Video Length?
Five to eight minutes keeps attention without overwhelming guests.
Should We Announce the Video Before Playing It?
A brief announcement builds anticipation and ensures guests focus on the screen.
Celebrating Being Media Ready For Your Big Day
I love the idea of guests watching your story unfold together. There is something quietly powerful about shared laughter or shared tears while sitting around tables glowing with candlelight.
It does not have to feel technical or corporate. With thoughtful styling and careful planning, it becomes part of your atmosphere.
When you take time to double check cables, test brightness, and prepare backups, you protect your peace on the wedding day.
When the lights dim and your story plays across the screen, it becomes a memory layered inside your celebration.
That kind of detail feels meaningful. That kind of moment feels uniquely yours.
Wishing you the best at your beautiful wedding! ✨
Warmly,
Jenna