
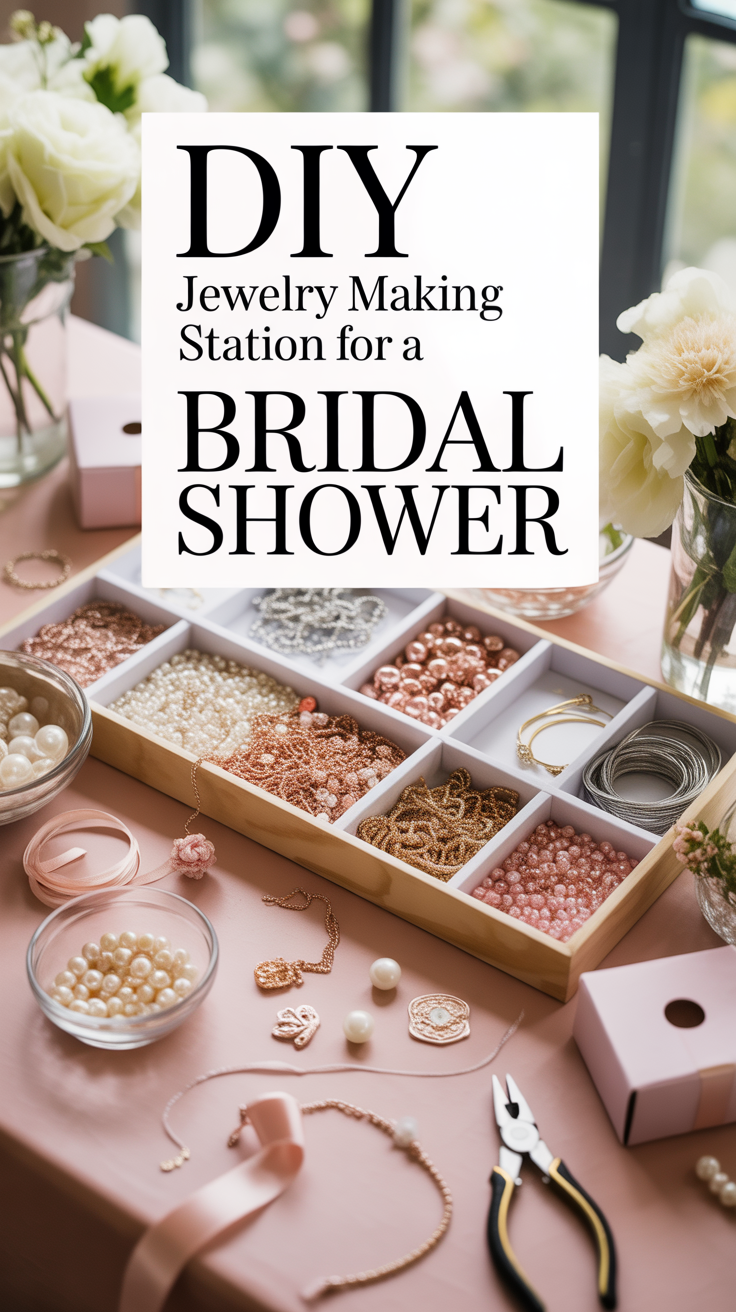
DIY Jewelry Making Station for a Bridal Shower
Jan 07, 2026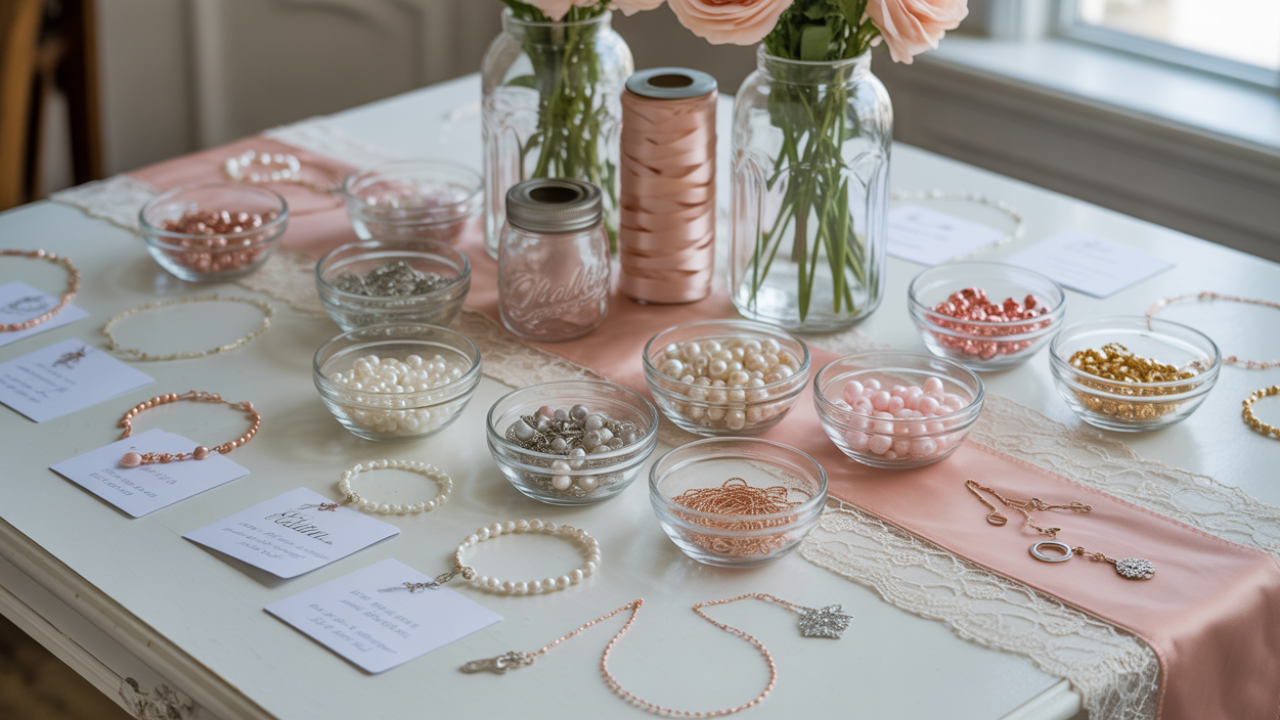
Disclosure: This post may contain affiliate links and advertisements. I may earn a commission at no additional cost to you. Content is supported with Ai and is for entertainment purposes only.
DIY Jewelry Making Station for a Bridal Shower (A Hands-On Detail Guests Truly Love)
A DIY jewelry making station is one of those bridal shower ideas that sounds fun on paper—and then somehow becomes the moment everyone talks about afterward. Guests linger longer, conversations flow more easily, and people leave with something they actually keep. I’ve noticed that when guests can make something with their hands, the whole shower feels warmer and more connected.
Whether your bridal shower is elegant, boho, modern, or cozy-at-home, a jewelry station works beautifully because it meets guests where they are. Some people go all in with layers of beads and charms, others keep it simple with one bracelet—but everyone feels included. This guide walks you through planning, setup, step-by-step DIY instructions, common mistakes, and thoughtful touches so your jewelry station feels intentional, not overwhelming.
Why a Jewelry Making Station Is Perfect for a Bridal Shower
A jewelry making station creates connection without pressure. There’s no competition, no performance, and no awkward moments—just gentle creativity and conversation.
What I love most is that it gives guests a shared experience and a personal takeaway. Each piece becomes a reminder of the day, not just another favor tucked into a drawer. Jewelry also naturally invites meaning: colors can represent love, calm, joy, or friendship, and charms can quietly reflect the bride’s story.
At a mixed-age bridal shower, jewelry stations work across generations. Younger guests experiment with trends, while older guests often create timeless pieces with meaning.
A curated bead assortment kit is ideal for hosts who want variety without sourcing individual bead styles—it gives guests options while keeping the table cohesive.
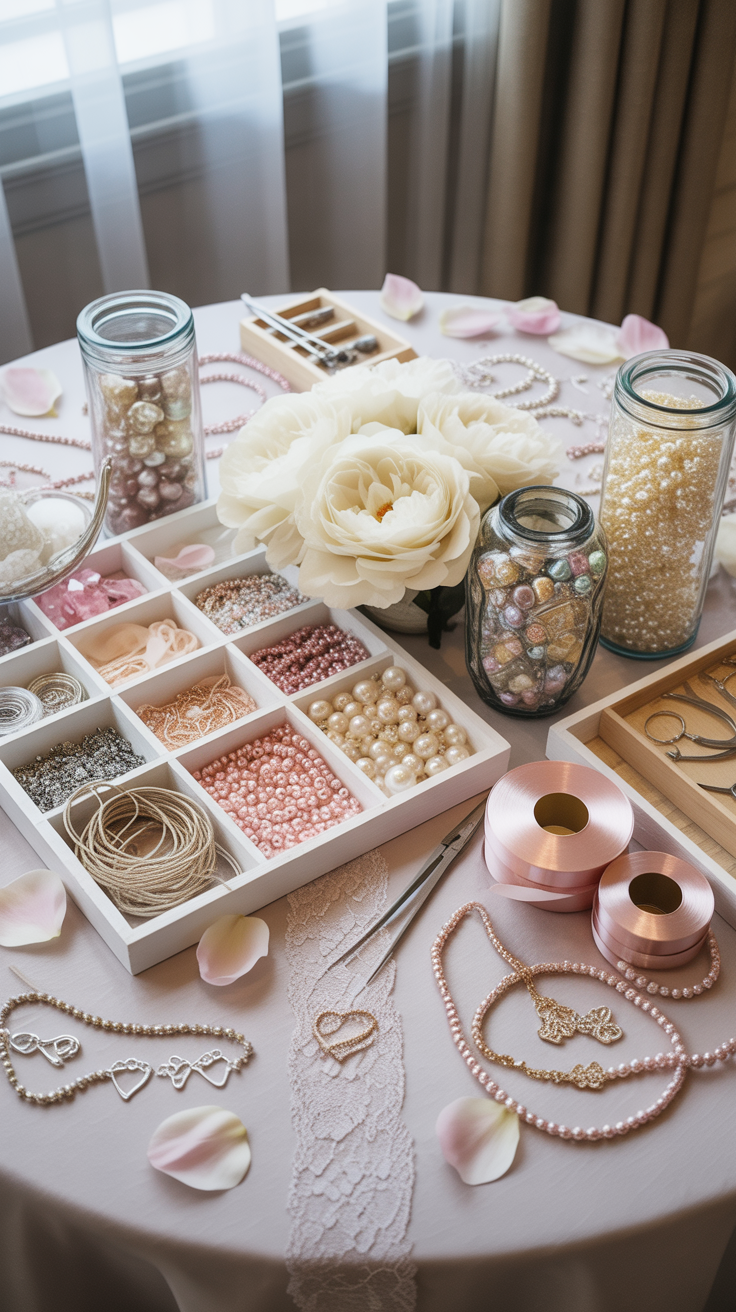
Designing a Jewelry Station That Matches the Shower Vibe
Before buying supplies, decide how you want the station to feel. This one decision simplifies everything.
Style directions that work beautifully
• Soft & romantic: pearls, glass beads, gold accents
• Boho & earthy: wood beads, natural stones, neutral tones
• Modern & minimal: uniform beads, monochrome palettes
• Playful & colorful: mixed shapes, bright colors, fun charms
I always recommend choosing 2–3 core colors and building around them. Too many colors can feel chaotic, especially for guests who don’t craft often.
For a garden-themed shower, a palette of soft green, blush, and gold keeps designs elegant while still giving guests creative freedom.
A clear compartment bead organizer is perfect for keeping colors separated and making the station feel calm and approachable rather than cluttered.
Setting Up the Jewelry Station as a Relaxed Group Activity
The setup matters just as much as the supplies. A well-organized station invites people in naturally.
How to set up a jewelry making station (bullet steps)
• Choose a large table with comfortable seating
• Cover the table with a neutral or linen runner
• Arrange beads by color or type, not size
• Place tools in small shared containers
• Add simple instruction cards for beginners
• Keep finished jewelry bags nearby
I’ve found that guests are more likely to participate when the station looks welcoming rather than complicated. Think “creative corner,” not craft store aisle.
Place the station near food or drinks so guests can move in and out casually without feeling like they have to commit.
A set of small glass or acrylic bowls is great for displaying beads attractively while keeping them easy to reach and return.
Step-by-Step DIY: Making a Simple Beaded Bracelet or Necklace
This is the part guests appreciate most—clear guidance that makes the activity feel doable.
How to make a beaded bracelet or necklace:
1. Choose your base
Decide whether you’re making a bracelet or necklace and select elastic cord or jewelry wire accordingly.
2. Measure before threading
Wrap the cord around your wrist or neck, adding an extra inch for tying or clasps.
3. Plan your pattern
Lay beads out in the order you want before threading. This helps avoid last-minute changes.
4. Thread beads slowly
Add beads one at a time, checking spacing and balance as you go.
5. Secure the ends
For elastic, tie a tight double knot and add a small dot of jewelry glue. For wire, attach clasps using pliers.
6. Let it rest
Set finished pieces aside for a few minutes so glue can set properly.
Encourage guests to make one piece for themselves and one for the bride—it adds meaning without pressure.
A beginner jewelry tool kit with pliers and cutters is ideal for guests who want to try clasps or wire-based designs confidently.
Adding Meaning Without Making It Complicated
What elevates a jewelry station is intention, not complexity. Small touches can make the experience feel deeply thoughtful.
Ideas that work beautifully:
• A small sign explaining the bead color meanings
• A note encouraging guests to make something for the bride
• A display board showing 3 simple design examples
I personally love when guests create jewelry while sharing stories about how they know the bride—it turns the station into a quiet storytelling space.
Offer one bead that’s reserved for the bride’s pieces only, making them feel distinct and special.
Jewelry display cards or tags are helpful for labeling finished pieces and adding a short handwritten note.
FAQs, Common Mistakes, and How to Avoid Them
Do guests need crafting experience?
Not at all. Simple designs with elastic cord work for complete beginners.
How long does it take?
Most guests finish a piece in 10–20 minutes.
How many supplies should I plan?
Plan for each guest to make at least one piece, plus extras for creativity.
Common mistakes to avoid
Mistake: Too many bead options
This can overwhelm guests.
Fix: Limit choices and repeat colors.
Mistake: Not enough tools
Waiting discourages participation.
Fix: Provide at least one tool set per 3–4 guests.
Mistake: No guidance at all
Some guests freeze without direction.
Fix: Include simple step cards or examples.
Have you truly enjoyed this post? These are worth checking out:
- DIY Bridal Shower: 3 Stunning Social Media–Worthy Backdrops
- DIY Jewelry Making Station for a Bridal Shower
- Fun Wine Glass Charcuterie Toppers for Bachelorette or Bridal Showers
Why a DIY Jewelry Station Makes a Bridal Shower Feel Extra Special
A DIY jewelry making station turns a bridal shower into something shared, not staged. Guests don’t just attend—they contribute. I love that it gives everyone permission to slow down, create, and connect in a way that feels natural and joyful.
The jewelry becomes a keepsake, but the real value is the experience: laughter around the table, stories exchanged, and hands busy with something meaningful. That’s the kind of detail guests remember long after the shower ends.
Wishing you the best at your beautiful wedding! ✨
Warmly,
Jenna