
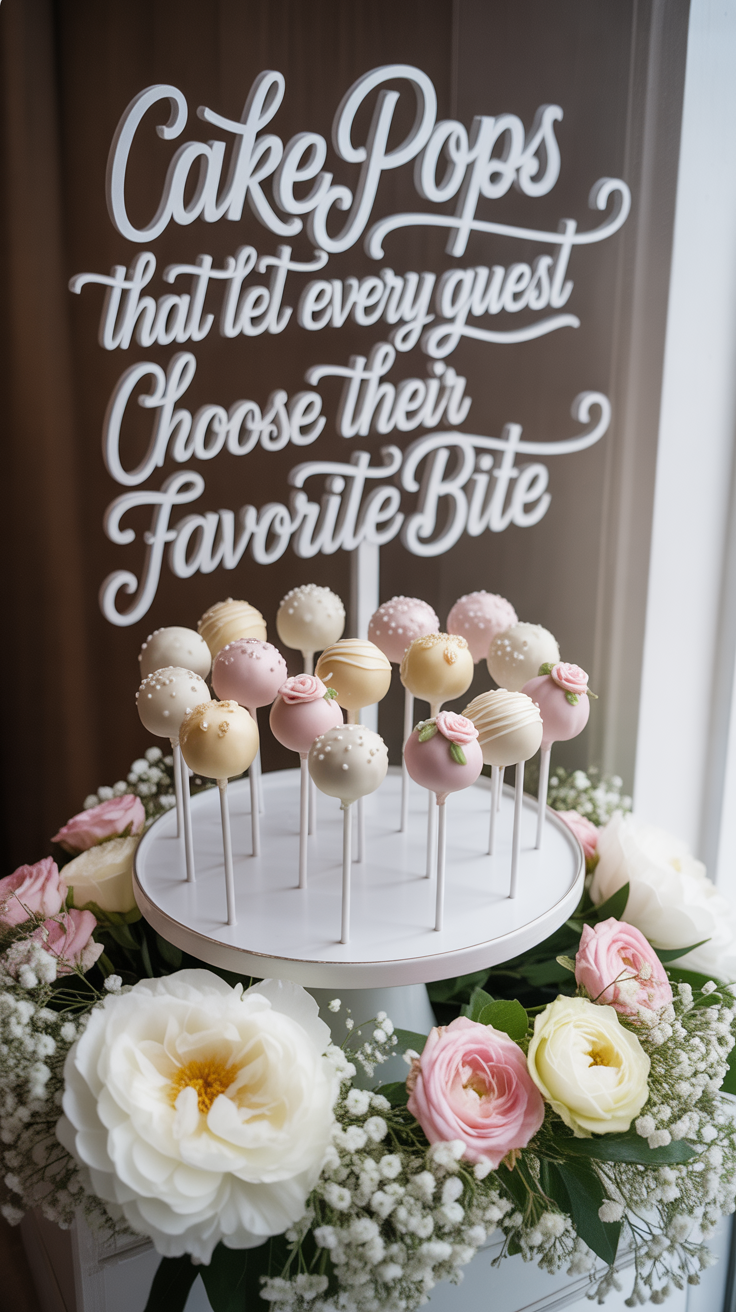
Cake Pops That Let Every Guest Choose Their Favorite Bite
Feb 05, 2026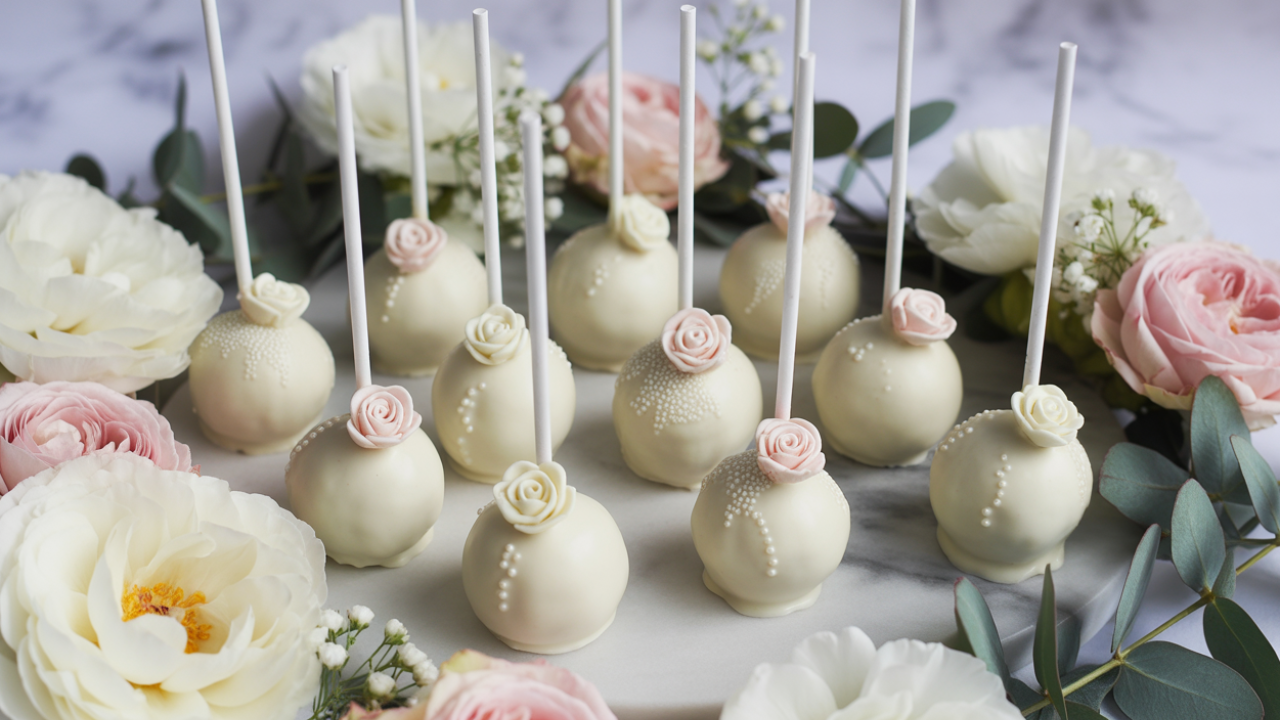
Disclosure: This post may contain affiliate links and advertisements. I may earn a commission at no additional cost to you. Content is supported with Ai and is for entertainment purposes only.
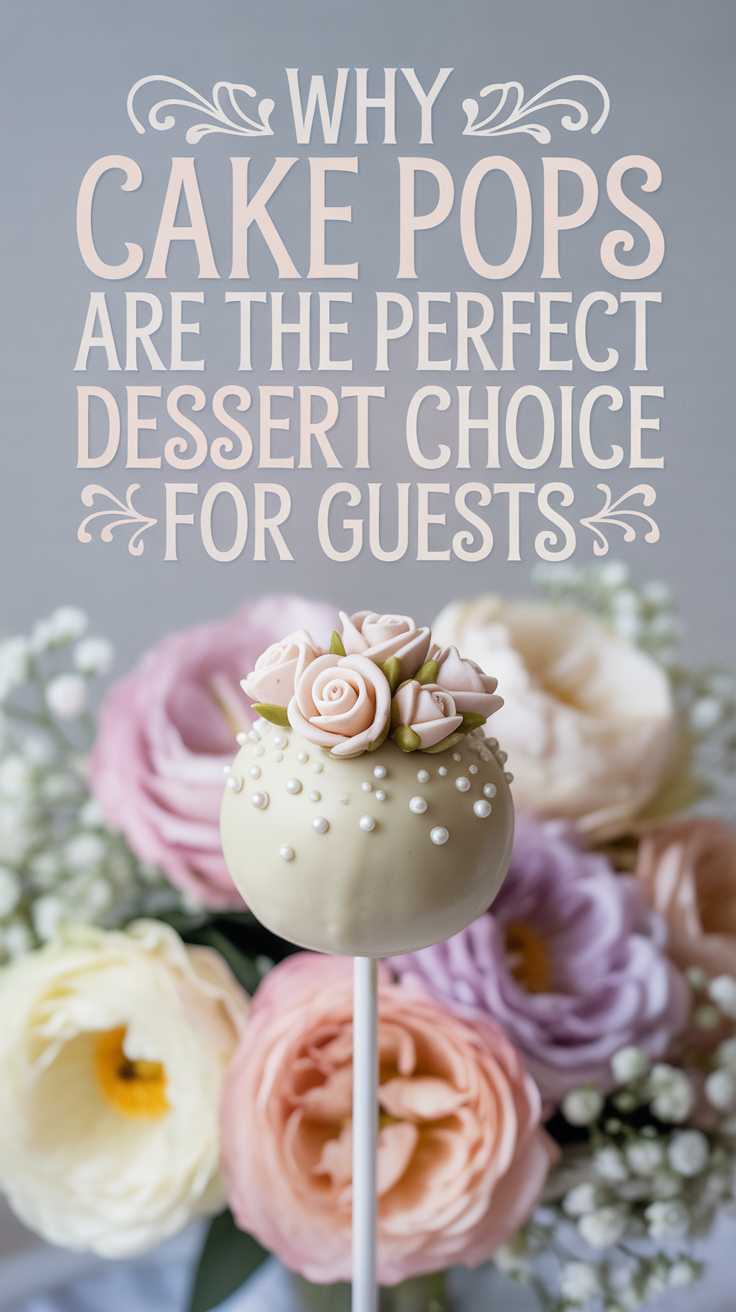
🍰✨Why I Love Offering Cake Pops as a Dessert Choice
One of the sweetest things you can do for guests is give them options, especially when it comes to dessert. I’ve always loved cake pops for that reason. Instead of committing everyone to one flavor or one style of cake, cake pops quietly say, “You get to choose what you love.”
Cake pops are small, celebratory, and playful. Guests can grab one—or two—without feeling like they’re overindulging, and they work just as well for weddings, showers, birthdays, or casual gatherings. Whether you’re hosting something elegant or something lighthearted, cake pops slide right in and make themselves at home.
They’re also one of those desserts that look impressive without feeling heavy. I personally love desserts that feel joyful rather than overwhelming, and cake pops always hit that balance. Plus, they make people smile. I don’t know if it’s the size, the stick, or the nostalgia, but they tend to disappear fast—and that’s usually a good sign.
Cake Pops Make Dessert Feel Personal
When guests walk up to a dessert table and see cake pops in different flavors, colors, or designs, something shifts. Dessert becomes interactive instead of passive.
Instead of:
• “Here’s the cake.”
It turns into:
• “Which one should I try?”
That moment of choice creates engagement. Guests talk to each other. They point. They compare. It becomes part of the experience rather than just the ending.
From a planning perspective, cake pops also allow flexibility. You can:
• Offer multiple flavors without baking multiple cakes
• Cater to preferences quietly
• Match your dessert to your overall look without changing recipes
That flexibility is one reason cake pops work for so many different events.
Matching Cake Pops to Your Theme With Color and Decor
One of the easiest ways to make cake pops feel custom is through color, coating, and finish. You don’t need advanced decorating skills—just thoughtful choices.
Soft & Romantic Themes
For gentle, romantic events, light tones do the work for you. Think:
• Ivory, blush, champagne, soft peach
• White chocolate coatings with subtle shimmer
• Minimal drizzles instead of heavy decorations
These styles feel calm and elevated without trying too hard.
Bold & Playful Themes
If the celebration leans fun or energetic:
• Use deeper colors or playful contrasts
• Add sprinkles, textured finishes, or drizzle patterns
• Mix two or three bold shades instead of one
This works especially well for bachelorette parties, birthdays, or casual showers.
Nature-Inspired or Rustic Settings
Earthy tones shine here:
• Warm browns, muted greens, soft neutrals
• Matte finishes or lightly textured coatings
• Simple presentation over heavy decoration
I tend to love these styles because they feel cozy and intentional.
Celestial or Whimsical Looks
These are perfect for metallic accents:
• Navy, deep plum, or charcoal bases
• Gold or pearl drizzles
• Subtle sparkle instead of heavy glitter
The key is restraint—just enough shine to catch the light.
An In-Depth Cake Pop DIY and Recipe (Step by Step)
This recipe creates classic, crowd-pleasing cake pops with structure that holds well and flavor that stays moist.
Ingredients (Makes About 30–36 Cake Pops)
For the Cake
• 1 box cake mix (any flavor you love)
• Ingredients listed on the box (usually eggs, oil, water)
For Binding
• ½ to ¾ cup frosting (store-bought or homemade)
For Coating
• 24 oz candy melts or chocolate wafers
Optional Decorations
• Sprinkles
• Drizzle chocolate
• Edible shimmer or dust
Editable pearl candies are a soft and beautiful texture to add to cake pops. They match with many themes and instantly elevate the look of the cake pop.
Supplies
• Lollipop sticks
• Parchment paper
• Baking sheet
I think it is super beneficial to use a silicone cake pop mold kit. This helps create uniform shapes if rolling isn’t your favorite step. It saves time and keeps sizing consistent. Great for beginners or large batches.
Step 1: Bake the Cake Fully and Let It Cool
Bake the cake exactly according to the box instructions using a standard pan. Avoid underbaking—structure matters here. Once baked, let the cake cool completely. Warm cake will create oily crumbs and uneven texture later.
Practical tip: If your short on time, bake the cake the night before and wrap it once cooled. It actually makes crumbling easier.
Step 2: Crumble the Cake Into Fine, Even Pieces
Place the cooled cake into a large bowl and crumble it using clean hands or a fork.
You’re aiming for:
• No large chunks
• No dry clumps
• An even, fluffy crumb texture
This step determines how smooth your cake pops will be, so take your time.
Step 3: Add Frosting Gradually
Start with ½ cup frosting and mix gently. The mixture should hold together when pressed but not feel sticky or wet.
Add more frosting one tablespoon at a time if needed.
A good test:
• Roll a small ball and set it down.
• If it holds its shape without sagging, you’re good.
Important: Too much frosting is the most common reason cake pops fall apart later.
Step 4: Roll Uniform Cake Balls
Use a tablespoon or small scoop to portion the mixture. Roll each portion into a smooth ball using light pressure.
Aim for:
• Even size (this helps them cook and coat evenly)
• Smooth surfaces (less cracking later)
Step 5: Chill the Cake Balls
Refrigerate the cake balls for 20–30 minutes.
They should be:
• Firm, not frozen
• Cool to the touch
• Easy to handle
Avoid freezing unless you’re short on time—frozen centers can cause cracking once dipped.
Step 6: Melt the Coating Slowly and Gently
Melt candy melts or chocolate wafers in a microwave-safe bowl.
Heat in:
• 30-second intervals
• Stirring between each round
The coating should be smooth and fluid, not thick. If needed, add a teaspoon of oil or shortening to thin it slightly.
Step 7: Insert the Sticks
Dip the tip of each cake pop stick into melted coating, then insert it halfway into a cake ball. Let the coating set for a minute before dipping fully.
Step 8: Dip, Tap, and Decorate
Submerge the cake pop fully into the coating. Lift it out and gently tap your wrist to remove excess. Decorate immediately if using sprinkles or toppings—once the coating sets, they won’t stick.
Place the finished pops upright in a cute or plain cake pop stand. The stand work both as a drying or decorative stand for the day of. These are super helpful for both!
Mini cake pop boxes can also be used to present the cake pop as a take home gift. You can add stickers, ribbons, and decor that are on theme with your wedding.
Common Cake Pop Mistakes (and How to Avoid Them)
Using too much frosting
This leads to soft centers that slide off the stick. Less is usually better.
Skipping the chill time
Warm cake balls won’t hold their shape during dipping.
Overheating the coating
This makes it thick and difficult to work with. Gentle heat keeps it smooth.
Moving the pops too soon
Let them set fully before packaging or stacking.
Mismatched temperatures
Cold centers + hot coating = cracks. Aim for slightly cool, not frozen.
If this blog post hit the mark, these are up next:
- DIY Just Married Mr. & Mrs. Cake Topper
- Fun Wedding Cake Toppers That Are Truly Unique
- Make an Interactive Ice Cream Wedding Station
Displaying Cake Pops So They Feel Celebratory
Ideas that work beautifully:
• Tiered stands for height
• Simple glass jars grouped together
• Color-coded sections for flavors
• A small sign inviting guests to choose their favorite
Even a modest display feels special when it’s intentional.
Cake Pop Stand
A stand allows pops to dry evenly and look polished when displayed. It also prevents smudges while setting. I love anything that doubles as function and presentation.
Celebrating Cake Pops, One Bite at a Time
Cake pops are one of those desserts that quietly do everything right. They’re flexible, joyful, and easy to personalize. They let guests choose what they love, take only what they want, and enjoy dessert without pressure.
Whether you’re planning something elegant or something playful, cake pops fit beautifully into the moment. I hope your table feels abundant, your flavors feel intentional, and your guests leave smiling—with maybe one extra pop in hand.
Here’s to celebrating cake pops, tiny bites, and big joy.
Wishing you the best at your beautiful wedding! ✨
Warmly,
Jenna