
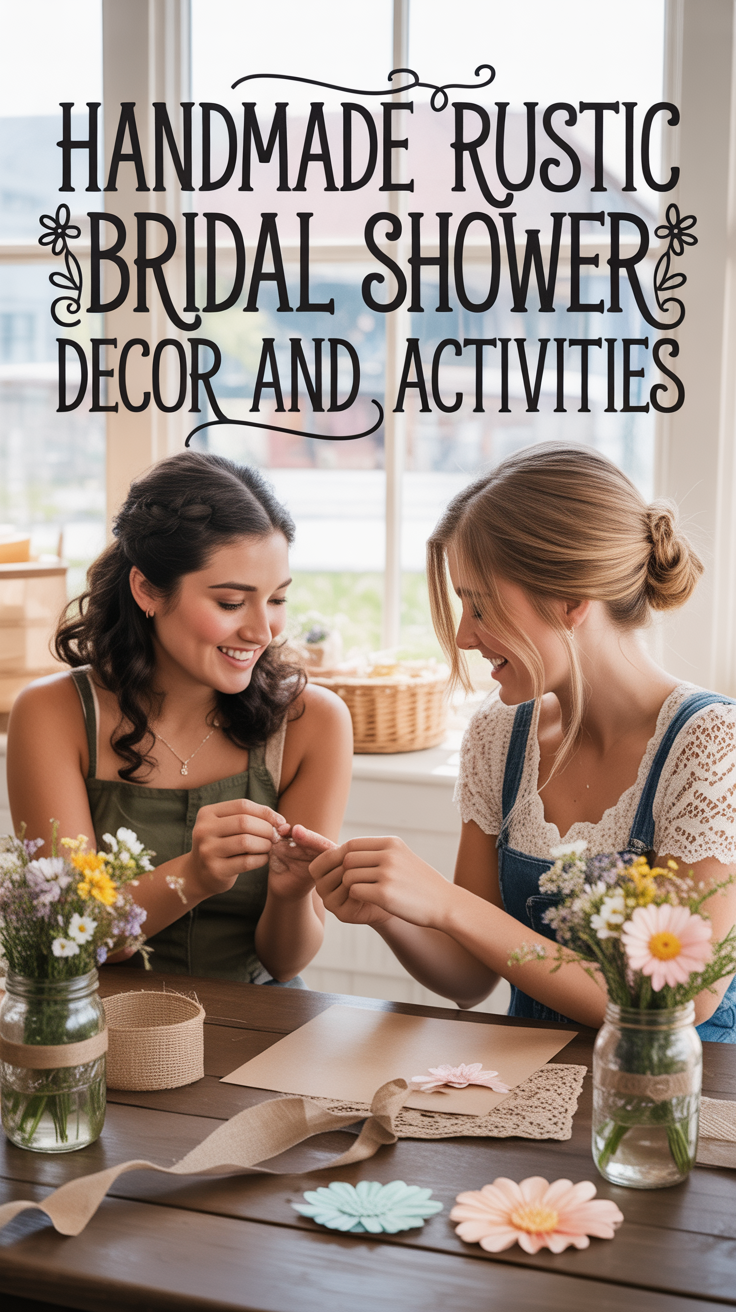
4 Rustic Bridal Shower DIY Crafts That Feel Warm, Handmade, and Full of Meaning
Jan 30, 2026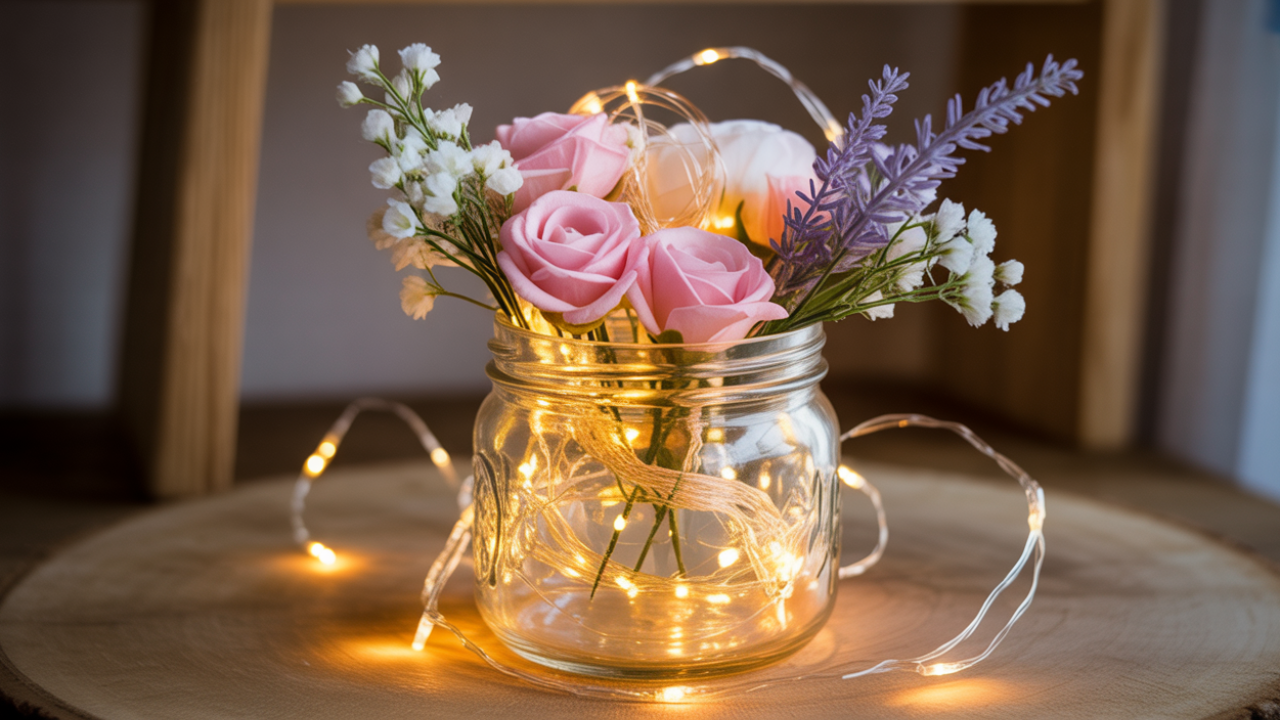
Disclosure: This post may contain affiliate links and advertisements. I may earn a commission at no additional cost to you. Content is supported with Ai and is for entertainment purposes only.
A Note From Me About DIY Rustic Beauty
There’s something about rustic bridal showers that always feels tranquil to me. These showers tend to not rush and are more go with the flow. I love how dried flowers have a subtle beauty, how wood adds warmth just by being natural. I also appreciate how burlap plus lace somehow balance each other with one being grounded, and the other soft.
When I think about hosting or attending a rustic bridal shower, I imagine hands busy with simple crafts, people chatting away, and a space that feels warm with dashes of color.
Rustic DIY crafts work beautifully for bridal showers because they allow guests to slow down and create something tangible. There’s no expectation of perfection. It’s just fun to participate. At the end of the day, everyone leaves with something they made — something that will carry a memory of your lovely shower.
These four rustic bridal shower DIY crafts focus on natural textures, soft details, and pieces that can be used or displayed long after the celebration ends. Enjoy!
1. Dried Flower Mason Jar Lanterns With Soft LED Fairy Lights
This craft feels especially cozy, and it sets the tone the moment guests walk in. Lanterns glow gently without overpowering the room, and dried flowers bring texture without feeling fragile.
In-Depth Steps
1. Start with clear mason jars in a consistent size
Using similar jars helps the finished lanterns feel cohesive when displayed together, even though each one will be styled differently.
2. Prepare dried florals ahead of time
Separate dried flowers into small bundles so guests can easily choose what they like. A mix of stems, grasses, and delicate blooms works well.
3. Decide whether florals go inside or outside
Some guests prefer attaching florals to the outside of the jar using twine or floral wire, while others layer them gently inside.
4. Add warm-tone LED fairy lights last
Tuck the lights loosely into the jar so they glow softly rather than bunching in one spot. Battery packs can be hidden under florals or behind the jar.
5. Test the glow before finishing
Turning the lights on helps guests adjust placement and make sure the jar feels balanced from every angle.
- Clear jars are beautiful for showcasing flowers and versatile. They work as lanterns, vases, or storage. Their simplicity fits any rustic theme.
- Rustic faux flower stems allow for easy arranging and they will last a long time. They hold their shape and travel well. Neutral colors keep them looking natural and on theme.
One guest wraps a few dried stems around the neck of the jar and lets the lights shine through the glass. Another layers florals inside for a fuller look. When placed together on a table, each lantern feels unique but part of the same story.
2. Painted Mini Wooden Crates With Faux Flower Arrangements
Mini wooden crates are one of those items that feel instantly rustic. Painting them adds personality, while faux flowers allow guests to arrange freely without worry.
In-Depth Steps
1. Choose unfinished mini wooden crates
Raw wood absorbs paint well and gives guests control over how rustic or polished they want their crate to look.
2. Offer a soft, neutral paint palette
Shades like warm white, sage, muted blue, or light taupe keep the project approachable and cohesive.
3. Paint lightly and let wood texture show through
Encourage guests to use dry brush techniques or thin coats. This keeps the crate from feeling heavy or overworked.
4. Allow a short drying break
While the paint sets, guests can browse faux flowers and plan their arrangement.
5. Arrange faux flowers loosely inside
Trim stems to varying heights and avoid packing them too tightly. A little space lets the arrangement breathe.
- Mini unfinished wooden crates provide a sturdy base for painting and arranging. They add instant rustic charm. Guests can reuse them for storage, flowers, or décor.
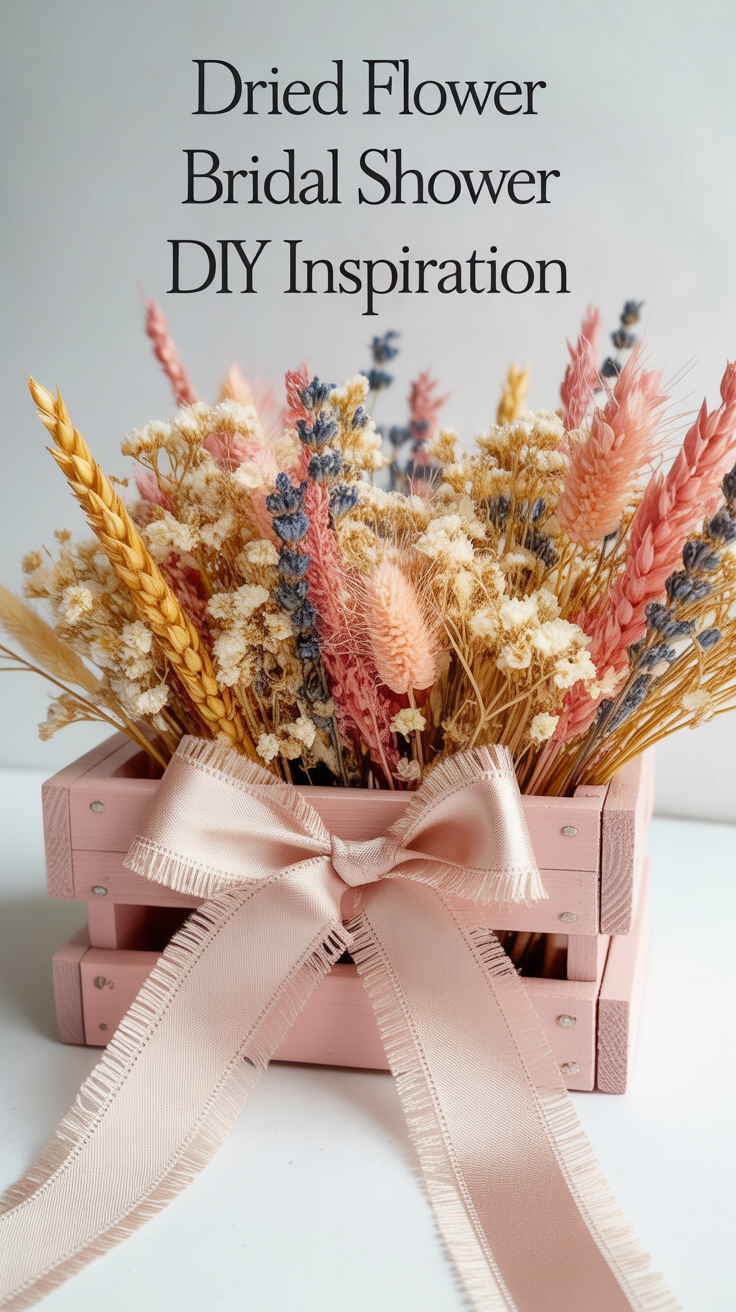
- Dried flower bundles bring texture and softness without needing water or care. They last long after the shower ends. Neutral tones work beautifully in rustic settings.
One guest paints their crate just enough to soften the wood grain, then adds a small cluster of faux florals spilling slightly over the edge. Another keeps the crate more raw and adds greenery only. Both feel rustic, just styled differently.
3. Hand-Painted Pitchers for Florals or Everyday Use
Painting a pitcher feels special because it walks the line between decorative and functional. It doesn’t require artistic skill, just intention and a relaxed approach.
In-Depth Steps
1. Use simple ceramic or metal pitchers
Neutral finishes work best and allow painted details to stand out without competing.
2. Choose paint pens or soft acrylic paints
Paint pens give guests control, while brushes allow for softer strokes. Either option works depending on comfort level.
3. Suggest minimal design ideas
Florals, stripes, dots, or a single initial keep the pitcher elegant and usable.
4. Encourage light pressure and spacing
Leaving some empty space helps designs feel balanced and not crowded.
5. Let pitchers dry in a visible spot
Displaying them while they dry adds to the décor and sparks conversation.
- Neutral Ceramic Pitchers offer both decorative and functional value. They’re easy to personalize with paint. Simple designs ensure long-term use.
One guest paints a small floral motif near the base, while another adds a simple line detail near the handle. Later, the pitcher can hold dried flowers, fresh blooms, or even be used for serving drinks.
4. Burlap and Lace Throw Pillows With a Single Letter
This DIY feels especially cozy and personal. Burlap adds structure, lace softens the look, and one letter keeps everything intentional.
In-Depth Steps
1. Start with neutral pillow covers
Light beige or cream covers work best and allow textures to shine.
2. Prepare burlap letters ahead of time
Pre-cut letters save time and help guests focus on placement rather than cutting.
3. Layer lace beneath or around the letter
Lace can be framed behind the burlap or peeking out from the edges for softness.
4. Use fabric glue instead of sewing
This keeps the craft accessible and stress-free for everyone.
5. Press gently and allow to set
Once placed, pillows should lay flat for a short time so glue sets cleanly.
- Rustic burlap fabric adds structure and texture. It pairs beautifully with lace. Pre-cut pieces make crafting easier.
- Lace trim rolls soften rustic materials instantly with sweet elegance. Small amounts go a long way, and lift the look the pillows.
One pillow features a burlap letter centered with lace framing it softly, while another offsets the letter slightly for a relaxed look. These pillows later live on couches, benches, or beds and feel meaningful and sentimental.
FAQ: Rustic Bridal Shower DIY Planning
How many DIY crafts should you offer?
One to three stations at a time works well. Guests don’t need to complete everything to enjoy themselves.
Do rustic crafts require artistic skill?
No. These projects are intentionally forgiving and focused on texture rather than precision.
How long should each craft take?
Most take 15–45 minutes depending on detail level and guest preference.
Can these crafts double as décor?
Yes. Finished pieces naturally enhance the space as the shower progresses.
What if guests prefer not to craft?
These DIYs are easy to observe and enjoy without pressure. Guests often join in naturally.
Wrapping Up With a Rustic-Inspired Celebration
Rustic bridal showers create a natural bridge into rural-inspired celebrations. The textures, materials, and handmade elements all feel grounded and warm.
As the DIY crafts wrap up and tables fill with lanterns, crates, painted pitchers, and pillows, the space starts to feel layered and alive. Add simple food, soft music, and a few western touches, and the celebration flows effortlessly.
I love how these kinds of showers feel thoughtful with flow. They honor creativity, connection, and the joy of making something together with your loved ones — which feels like a beautiful way to celebrate all that’s ahead.
Wishing you the best at your beautiful wedding! ✨
Warmly,
Jenna